Preparing 3D models
The application automatically tries to identify jaw type (upper or lower) according to the filename and 3D model orientation in framework when you add dentitions' 3D model. Application rotates model for correct displaying if necessary.
These modifications cannot affect future measurements and models' relative position (occlusion).
Once in a while the application can't correctly identify model orientation and you will be offered to do it manually.Correct jaw type identification (upper or lower) directly depends on filename (see more in section "Loading 3D Models"). So, jaw type may be incorrectly identified automatically or you may be offered to set it manually.
If jaw type (upper/lower) is set incorrectly the application will take upper jaw model as lower one and vise versa. It will lead to quite evident consequences that you'll be able to see on viewing and merging models.
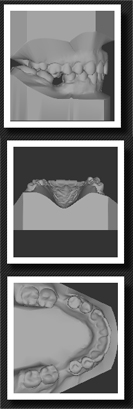
Incorrect orientation in framework will also be evident. You can check model orientation on 3D model thumbnail in patient's record and after opening in viewer.
Keep in mind that incorrect orientation in framework and wrong jaw types (upper and lower) won't allow you to take measurements properly.
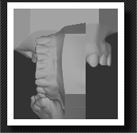
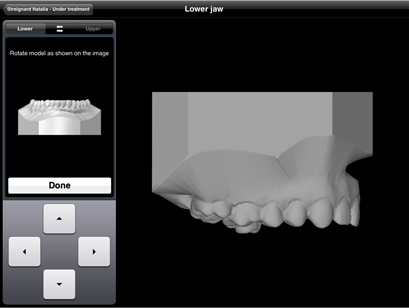
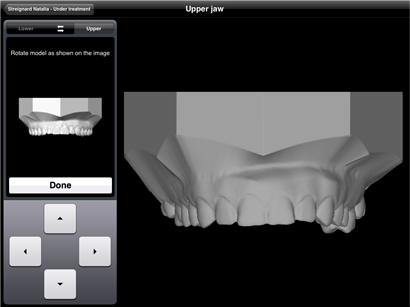
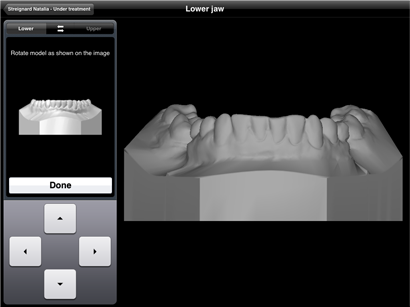
You should return to patient's record to fix a problem. Tap and hold on thumbnail until context menu appears and select Rotate.
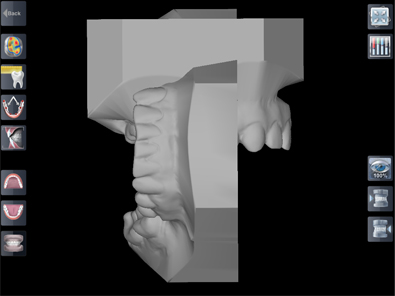
This will start special mode for 3D model orientation correction and jaw type identification (upper or lower) for each model.

You should return to patient's record to fix a problem. Tap and hold on thumbnail until context menu appears and select Rotate.
This will start special mode for 3D model orientation correction and jaw type identification (upper or lower) for each model.
Identified as UPPER jaw:
Identified as LOWER jaw:
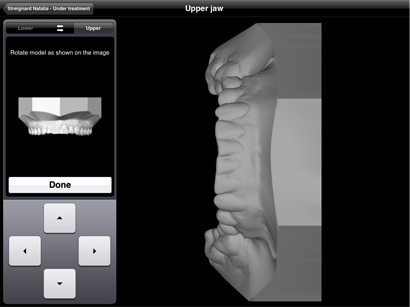
UPPER jaw:
LOWER jaw:
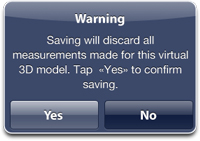
You can cancel all changes picking "No". In this case nothing will be changed.
To find out how to merge upper and lower jaw 3D models together and divide them see section: